A missing single tooth, especially an upper incisor, can be a really big issue for a patient. There are traditional options to replace the missing tooth such as a denture, Maryland Bridge or even a fixed bridge. These all have advantages and disadvantages. A dental implant can be an ideal option if there is adequate width and height of bone.
This article will explain an alternative treatment option, which is conservative (on tooth preparation), aesthetic, and importantly a fixed option - using composite. The treatment is clinically proven with excellent long-term survival rates.

Standard shade guide.

Outside Special Shades.

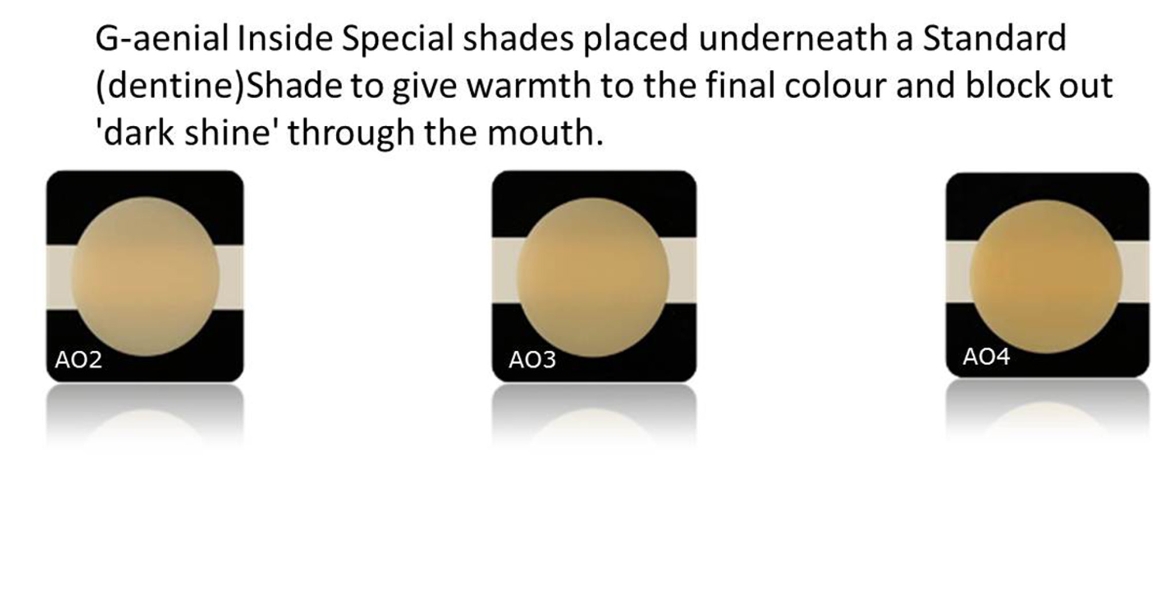
Inside Special Shades


Case history
The patient presented with multiple upper missing teeth and a loose UR4 which had a poor prognosis and required extraction. The patient was wearing a partial upper acrylic denture and had the UL1 missing tooth on the denture. His goal was to have fixed options for the upper arch. The patient had suffered from periodontal disease, and adequate periodontal treatment was provided, as well as advice on hygiene techniques and prevention. It was decided following a thorough consultation, to consider bone grafting and implants for the posterior regions, and a direct fibre retained composite bridge for the missing central incisor tooth. The patient wanted to stop wearing the upper denture as quickly as possible. There was not adequate width of bone at UL1 and the patient did not want to have a block bone graft at this site. The other important aesthetic issue, was to not have a very long looking tooth at UL1 (the patient had a high smile line and this area would show). This meant that the careful use of pink composites would be needed to simulate the gum tissues cervically.
The main materials used in this case were:
- everStick C&B (StickTeck Ltd GC)
- G-aenial Anterior Composite (GC)
- OptiBond (Kerr)
- Rubber dam
- Gradia Gum (GC)
G-aenial is a urethane di-methacrylate composite resin. It has been designed to create invisibility in the final results. This is achieved by having a composition with an internal reflectivity, which accurately reproduces that of natural tooth. Thanks to its high light scattering properties, G-aenial blends with the surrounding teeth. There is versatility in using single shades for simpler fillings, or the multilayered approach (as in this case) for the more advanced cases.
Shade selection
Shade selection can be as simple or as advanced as the dentist chooses. Many cases can be satisfactorily completed with just one shade. However, in this case a detailed shade selection system was required. I would therefore like to recommend some detailed guidelines for this important stage. The shade should be selected before the rubber dam is placed but after careful assessment of digital photographs (the use of a black contraster is especially helpful).
The Vita Classical shade guide should be used to firstly assess the value. It is important to set up the shade tabs in terms of increasing value (white high value-dark low value). A good tip is to grind away the cervical areas (darker ‘root effect’ areas) of the Vita shade tabs. Value can best be assessed in lower light, using the middle of the shade tabs.
The second step involves the assessment of the translucency. Look at the lower incisal edge with a small black card (from the black pad that GC makes) as a background. This will help decide on the thickness of opaque dentines or level of translucency to be created.
The third step involves assessing the hue. This can be done by looking at the canine cervically, where the enamel is the thinnest. The following colours are represented by the Vita shades:
A = red/brown
B = red/yellow
C= grey
D = red/grey
Step four is the assessment of the chroma in normal light and using the upper third of the shade tabs. GC has created standard shades such as XBW, BW, A1, A2, A3, A3.5, A4, B1, B2, B3, C3, CV and CVD. It has also developed two types of additional shades to choose from, called special shades, which are placed underneath (inside shades) or on top (outside shades) of a standard shade.
Outside special shades are used to replace enamel and correspond to the colour and translucency of the natural enamel depending on the age of the patient. The Outside Special Shades available to create specific visual effects are:
- Translucent enamel (TE) simulates a depth-effect in restorations.
- Incisal enamel (IE) can be applied on the enamel occlusal third and proximal surfaces particularly with young patients.
- Cervical enamel (CE) offers the right translucency to let the darker cervical depth shine through.
Inside special shades are used to add opacity. These opaque shades are placed underneath a standard shade to add warmth to the final colour and also to block out or mask underlying darkness or discolouration. There are three inside special shades – AO2, AO3, and AO4. One tip that I recommend is to place a small amount of composite material on to the tooth or the gum and quickly light cure to make a direct comparison in the mouth.

Gum colour shades.

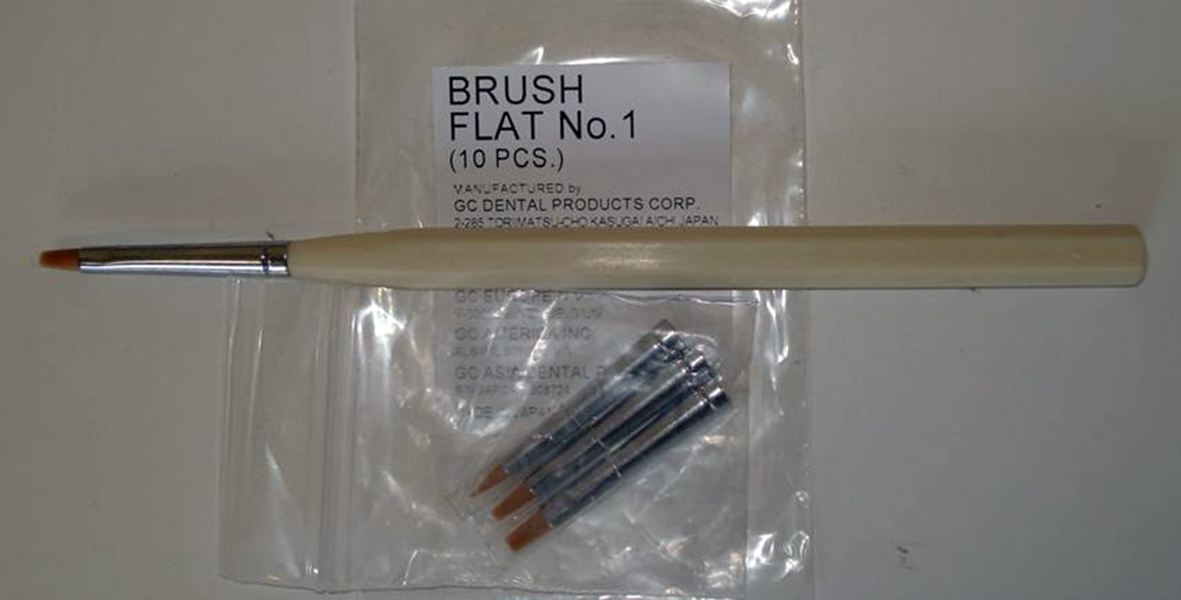
Thin and thicker brush tips and handle.
The clinical procedure
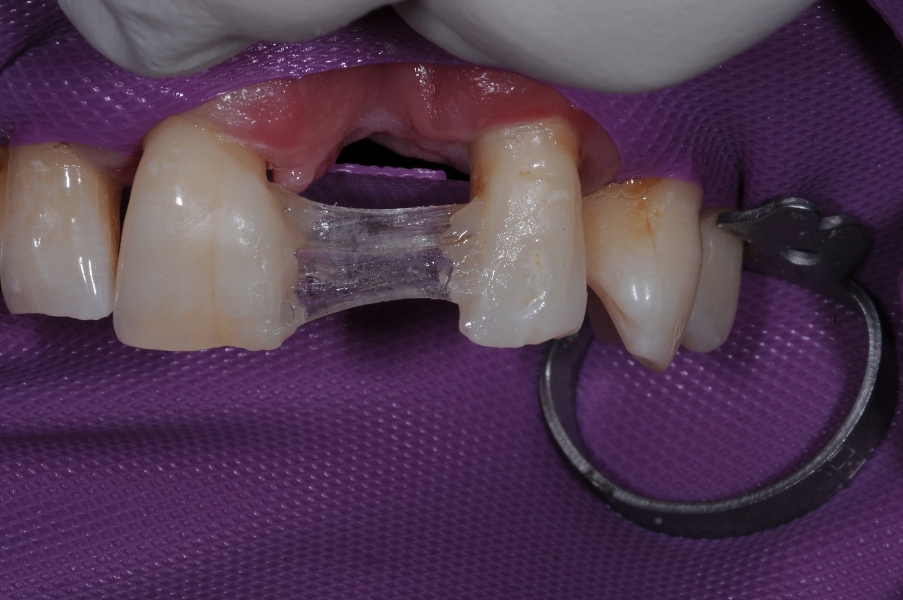
A rubber dam was applied by placing a clamp on to UL4 and a small slit was made at the pontic side to expose the gummy ridge. The proximal surfaces of UR1 and UL1 were slightly roughened with a diamond bur. No local anaesthetic was required for the treatment. The length of the everStick C&B fibre that was required was determined by placing a thin piece of the packaging between the two teeth to measure accurately. A piece of fibre was then carefully cut and put aside.
The entire proximal surfaces of the retainer teeth were etched with 37 per cent phosphoric acid for 45 seconds, washed and dried. There was a frosted effect visible to indicate a good etch pattern. OptiBond primer was applied for about 30 seconds and gently air-dried. OptiBond bonding resin was then applied and moved around for 30 seconds and then also gently dried. This was light cured for 30 seconds.
The everStick fibre was then correctly placed and attached to UR1 and UL2 using G-aenial Universal Flo A2. This material is slightly thicker than other flowable composites with good handling properties. The fibre should be correctly curved in the antero-posterior and mesio-distal directions to take into account the curve of the arch. An additional piece of fibre was placed horizontally using the flowable composite. The alternative is to place a smaller piece of fibre vertically to form a cross. The fibres form the skeleton of the false tooth, on to which the composite layers can be added.
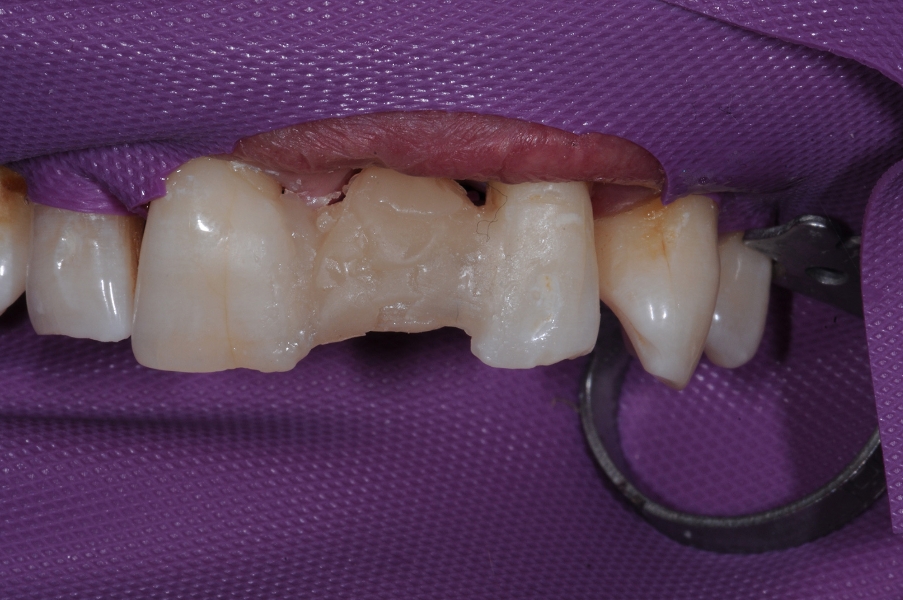
A2 dentine was used to build up the majority of the tooth internally. A thin layer of opaque AO2 layer was applied. Bleach dentine was added in certain areas, which were whiter (a mirrored comparison to the contra lateral tooth was desired). A scalpel blade was used to carefully create a very thin crack or groove vertically (a ‘smoker’s line’). IC4 stain was then carefully applied to the crack using a thin tinting brush tip made by GC. A second clean brush can be used to remove any excess stain. Cervically, IC5 stain was used, and a more diffused area was created in the incisal zone middle region using a larger brush. Some TE enamel was placed on the distal side vertically to create extra translucency. The gum effect cervically, was created with a shade from the pink composite range. Finally, JE enamel was overlaid to achieve the optimal fluorescence, opalescence, value and polish ability. In this case JE was used to increase the value or create a slightly whiter look. An excellent tip to ensure the surface is created correctly is to use the larger (flatter) brush tip that is made by GC rather than a dental instrument – this technique achieves excellent manipulation of the material.
A slight technical error that was made in this case was the inadvertent excessive application of the stains to create the effects. GC makes a kit with Intensive Colours – these are effect stains, which are unfilled resins. Only very tiny amounts should be carefully applied to create ideal optical effects.
After the complete build up of the pontic in the composite material, the rubber dam was removed. The occlusion was carefully checked using Bausch articulating papers and the two phase articulation system of checking occlusion. The occlusion was checked and adjusted as appropriate, in centric occlusion, protrusive and lateral guidances.
Finishing and polishing
A fine diamond bur was used to carefully create appropriate surface texture. Burs were also used to carefully contour the edge of the tooth as well as the other teeth (cosmetic contouring) to create a more pleasing appearance.
When polishing composites, it is important to remember that we need to satisfactorily polish the ceramic parts (fillers) as well as the resin part (matrix). Polishing must also be done carefully not to remove the surface textures and features created. Soflex discs were used to carefully polish all areas of the tooth.
Summary
This is an excellent clinical technique using world-class dental materials to achieve a fixed option for replacing a missing tooth. This sort of advanced case requires a lot of planning and assessment. I allow about two and a half hours to perform this type of treatment and charge a fair professional fee (which will be less than an implant or a fixed bridge). The treatment is done in one visit and the composite can be maintained in the long-term easily by repolishing or addition of composite for repairs if required.
With skill and experience, it is possible to achieve excellent aesthetics comparable to porcelain. There is a learning curve in using new materials and training courses are available to practice and improve clinical skills.
